iTunes sometimes puts you in unpleasant situation. While your iPhone goes through the process of restoration via iTunes, it's likely to get some error in between the process and the restore gets stopped halfway. If you are troubled by this problem while restoring, this article will be of great assistance for you. Here are some useful solutions with guides about what to do when iPhone restore stops halfway.
1. How Long Does It Take to Restore
When you begin to restore iPhone via iTunes, you might feel that the progress is a little bit slow eventually feeling that you're stuck and the process isn't going to complete forever. Actually, this isn't the case. The process is determined by the number of files and the amount of data you have in your device. This goes equally as when you try to clean your room, it will take more time if there's more mess and the less dirty room.
Similarly, the more data in your device, the more time restoring will take and vice versa. Therefore, you need to figure out if truly your iPhone restore stopped halfway or it's just the large amount of data that is restricting the process. Also, below are the solutions to try when your iPhone restore stops halfway.
2. Try a Third-party Tool to Restore Your iPhone to Factory Settings
When your iPhone restore stopped halfway when you want to set it to factory settings, the most effective way to complete this task is to use an excellent tool like iMyFone iOS System Recovery (iOS 17/18 beta/18 supported). This third-party tool supports the latest iOS version iOS 17/18 beta/18. It is compatible with Windows and Mac OS. The purpose of this tool is to solve a large number of iOS bugs. Being able to work with any kind of iOS issue without harming any data is the plus point of this program.
There are three different modes aiming to help the users kick out the problems they get stuck with, for example, iPhone stuck on turning off, iPhone stuck on boot loops, iPhone won't turn on and so on. One of those modes will assist you in restoring your device into factory settings as well as fixing minor iOS issues. When using the tool to fix your iPhone/iPad/iPod touch, you get no data loss (unless you use the advanced mode), full compatibility, high-quality performance and no limitations, you can't ask for more. Here are the steps to use this program.
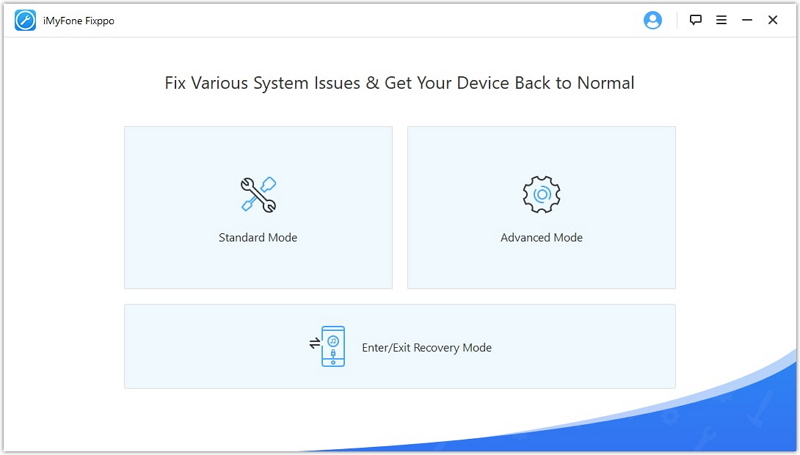
Step 1 – First of all, go to the official website of the program and download it from there. Install it afterwards and open the program to begin the process. Once your screen enters the main interface, connect the iOS device and choose the 'Advanced Mode'.

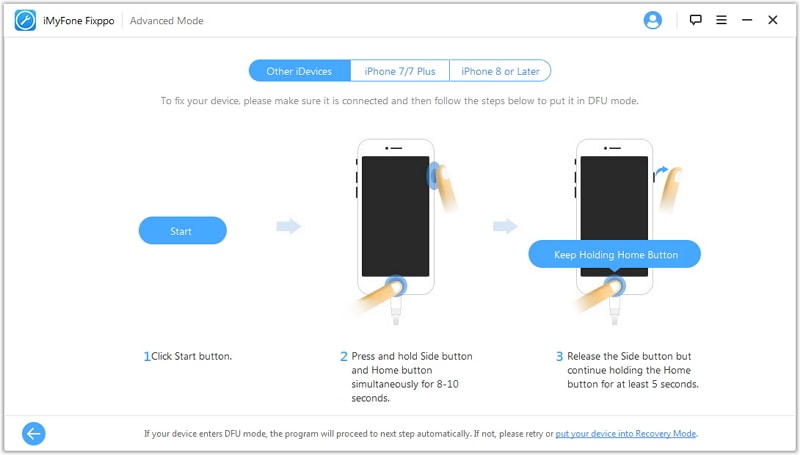
Step 2 – Now, click on the 'Start' button and take your device to the DFU mode. You can get the help from the on-screen instructions to put your device in DFU mode.

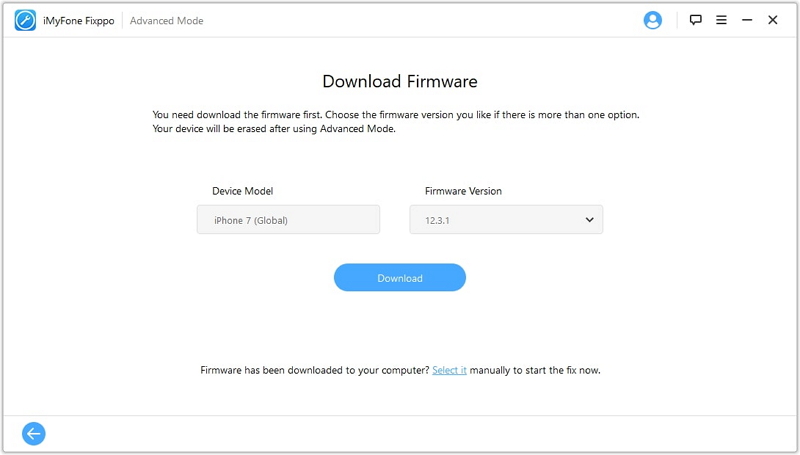
Step 3 – When your device gets into DFU mode successfully, click on the 'Download' tab from the next screen.

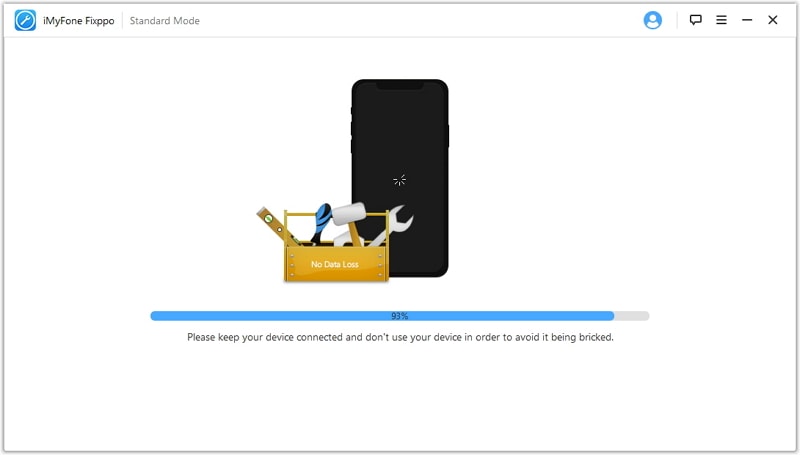
Step 4 – Hit on 'Start to Fix' as the last step and your device will be restored to factory settings thereby erasing everything in the phone.


 July 26, 2024