


 September 8, 2022
It has become super easy to transfer photos from your digital camera to your iPhone. Trust us; it is not worth the headache to ask someone for help and be indebted to them for just the task of transferring pictures. Here we have listed three easy ways, step by step, to take all your worries away.

Table of Content [Hide]

Part 1. Import Photos from Camera to iPhone Using Various Adapters
You came to the right place for anyone looking to transfer raw photos from camera to iPhone. All you would need is either an SD card reader or an adapter. With only a few easy steps, you can instantly have your high-quality pictures from your camera moved to your phone. There are several adapters you can use for transferring photos from digital camera to iphone:
- Lightning-to-USB Camera Adapter
- Apple USB-C to SD Card Reader
- Lightning-to-SD Card Camera Reader
Steps to Import Photos from Camera to iPhone with SD Card Reader
Step 1: Start by removing the SD card from the digital camera. Following this, you will need to insert the SD card into the Lightning to SD Card Reader. Then connect the Lightning-to-SD Card reader to your iPhone.

Step 2: For this step, you will be using your iPhone, where you will open the Photos App. Typically, once you connect your phone to the Card Reader, the app usually automatically opens. On the off chance that it does not, you will have to carry out the step manually.
Step 3: When in the App, the next step will be transferring. You will see the Import option on the bottom right of the screen. Here you can select the pictures you want to move from your digital camera to your iPhone. In this step, you have two options either import all the data or manually select the specific photos by tapping on the ones you want.

Step 4: Once the process is completed, there will be a pop-up on your screen. Here you can delete the imported photos from the attached camera or delete them. If you still want the images to be available on the SD card. Press keep. However, if you remove them from your SD card, you will opt for the delete button.

Part 2. Transfer Photos from Camera to iPhone Wirelessly for Canon Camera
Some cameras nowadays come with a transferring app, for example, the Canon Camera Connect. No additional equipment is required for this method besides the two devices in question. Nonetheless, it is well suited only to move a small number of photos. If you want to move hundreds of images, it's better to go another way.
Step 1: The first thing that you need to do is open the menu on your Camera and Enable the Wi-Fi. (Note: Rename the device to something that you will remember)
Step 2: Now, you move to your iPhone and open Settings. There you will find your Wi-Fi and turn it on. On that screen, you will be required to connect to Camera Wi-Fi network. (Note: In case you did not rename your device, it is most likely the model number of your camera.)

Step 3: Then, move back to the Cannon Camera Connect app on your iPhone. From here, you will opt for Images on camera button, which will enable you move the images from the digital camera to your iPhone.

Part 3. Sync Photos from Digital Camera to iPhone with Computer
Another way of moving photos from your digital camera to an iPhone is with the help of a computer. We have tested iTransor for you to try. It is a program designed for exporting or restoring any data to iPhone, and you can use it to access backup in iTunes. For this, you will first have to download iTransor on your computer.


Step 1.You can choose to upload the photos to iTunes on your computer.
Step 2.On iTransor, go to Restore Backup to Device and you will see a list of backup, you can easily choose the iTunes backup from there.
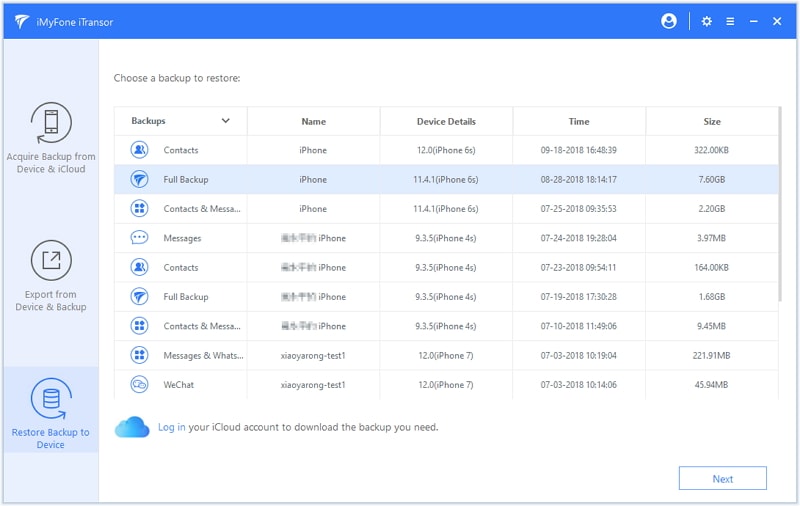
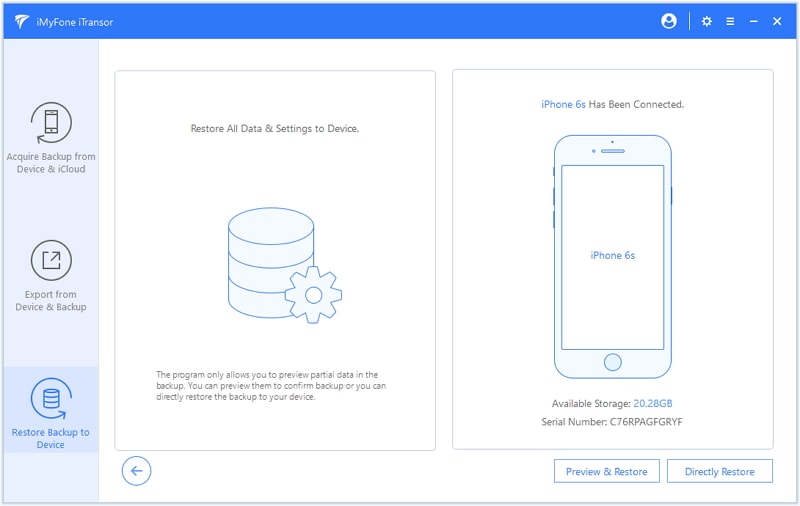
Step 3.If there are specific things you want to restore, go for Directly Restore, whereas if you want to review first, then you will go for Preview & Restore.
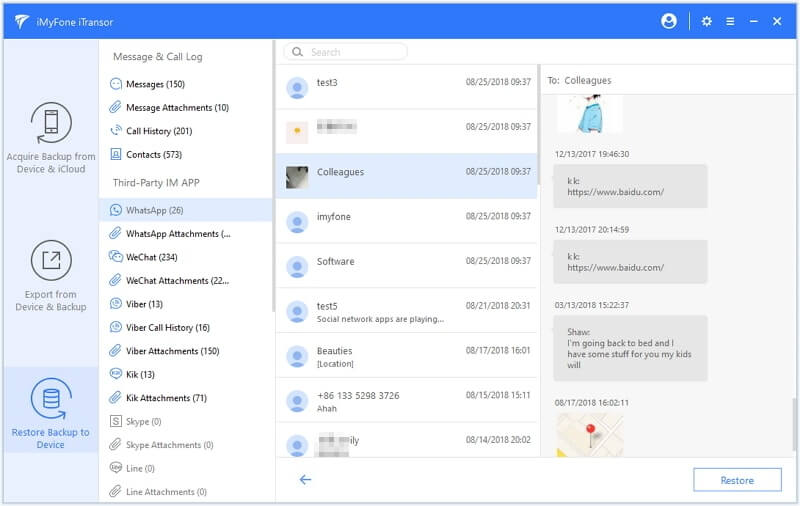
Step 4.If you choose to preview, you can clearly view the photos first.
Step 4.Connect your phone to the laptop, and you will now be able to move all the material from iTransor to your phone.
Conclusion
So, never again lose your data by backing all the photos from your digital camera to your iPhone. Whether it's with an adapter cable or with a laptop, there are several ways you can import photos from your camera to your iPhone.