Apple has implemented a ton of wonderful features into their iPhones throughout the years, and Voice Memo is one of them. It gives you freedom to just record whatever is on your mind, no matter where you are in the world. But, when it comes to sharing them via email, it can get a little tricky, which is why we're going to discuss some simple methods to tell how you can send voice memos from iPhone to email.
1. Add Voice Memos to iCloud Drive Then Send to Email
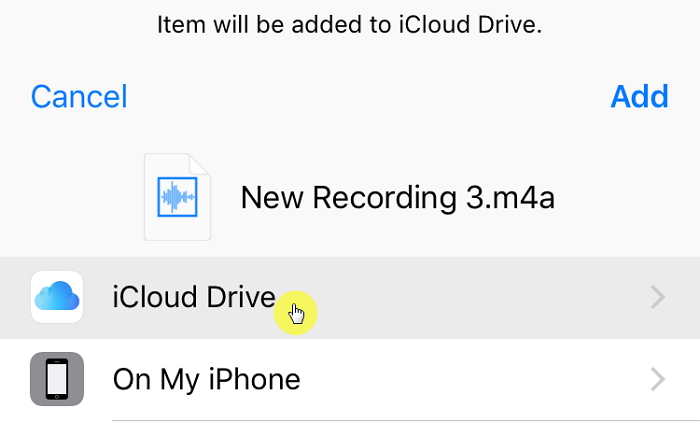
Once you're in the Voice Memos application, you'll want to click on the specific recording that you want to send to your email. Then, you'll need to hit the share button, which will present a few more options. Select the "Add to iCloud Drive" one, and it will upload it instantly.

Now that it's in your iCloud Drive, go ahead and create a new email. Tap the screen once to bring up the on-screen menu and hit the right arrow until you spot "Add Attachment". Click that, then once your iCloud Drive pops up just select the voice memo you want to send.
You may learn: Why my email notification not working?
2. Add Voice Memos to Notes App Then Send to Email
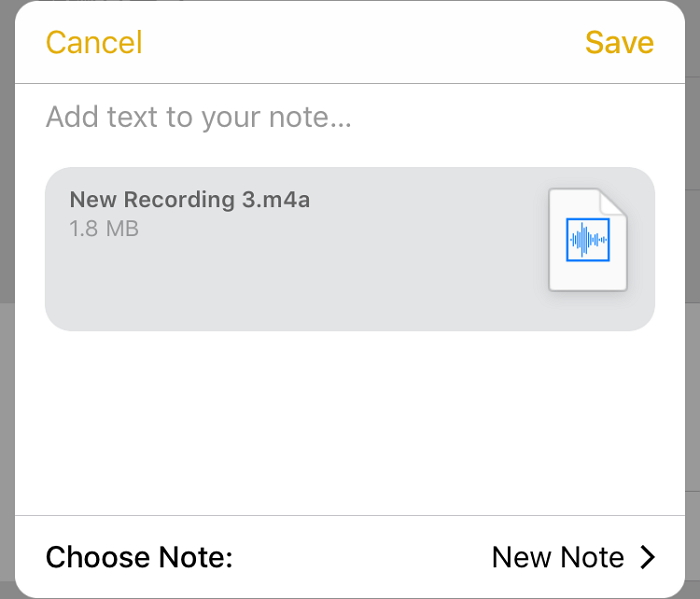
Access the Voice Memos app on your iPhone, select the memo you want to send and then tap the share button. When the next set of options are displayed, just choose "Add to Notes" and it will send it to your Apple Notes.

When it's archived in your notes, you want to find it, tap the little box icon at the bottom of the screen and then select the "Mail" button. Fill out the contents of the email, and then tap "Send" to complete it.
As you can see, these two methods do work but they are a little inconvenient - you will have to add voice memos from the app Voice Memos to iCloud Drive or Note one by one! Is sending voice memos via iCloud or Apple Notes individually the only option? No, actually, it isn't, because there's another method which is far quicker.


 April 17, 2024